Nail Pop Repair Services for Property Owners
Visitors will learn about Nail Pop Repair services and how local contractors can address nail pops on their property.
- - Residential property owners seeking repairs for nail pops in walls or ceilings.
- - Commercial building managers needing quick fixes for interior wall imperfections.
- - Home improvement contractors looking to connect with local specialists for nail pop repairs.
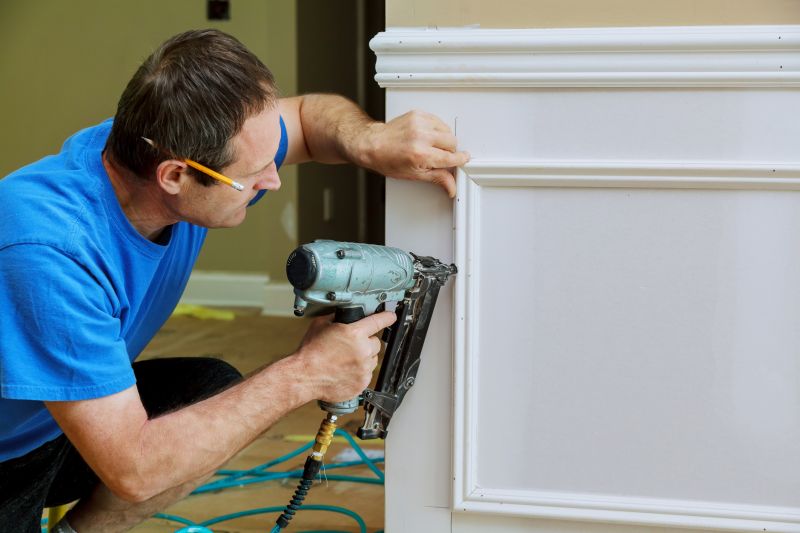
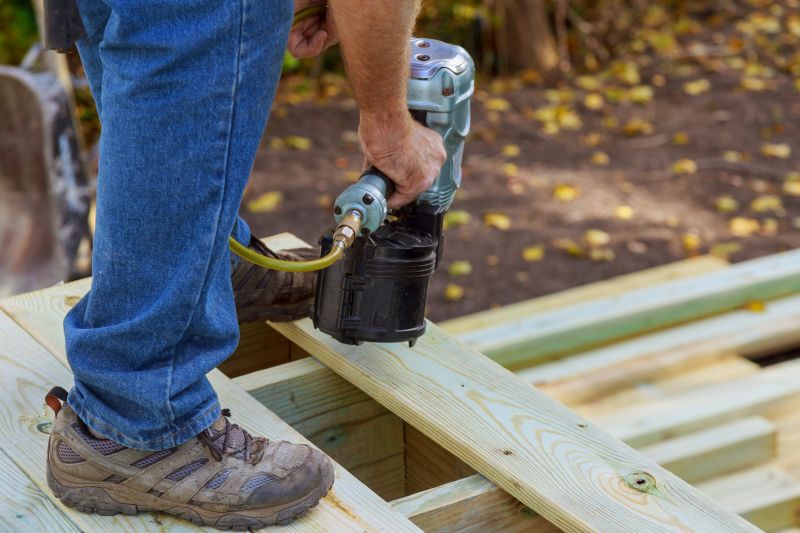
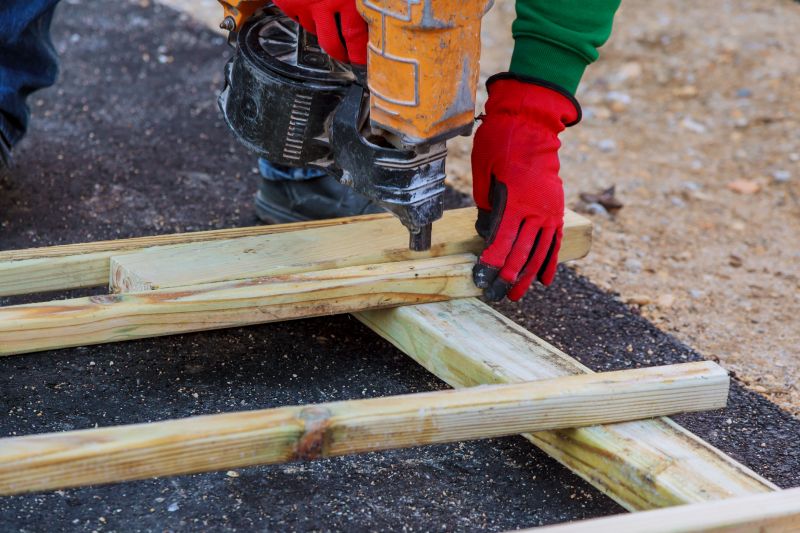
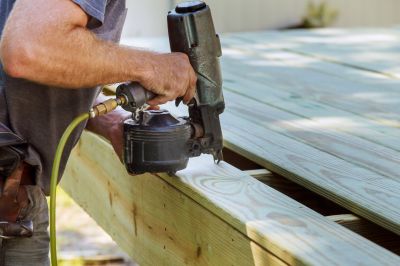
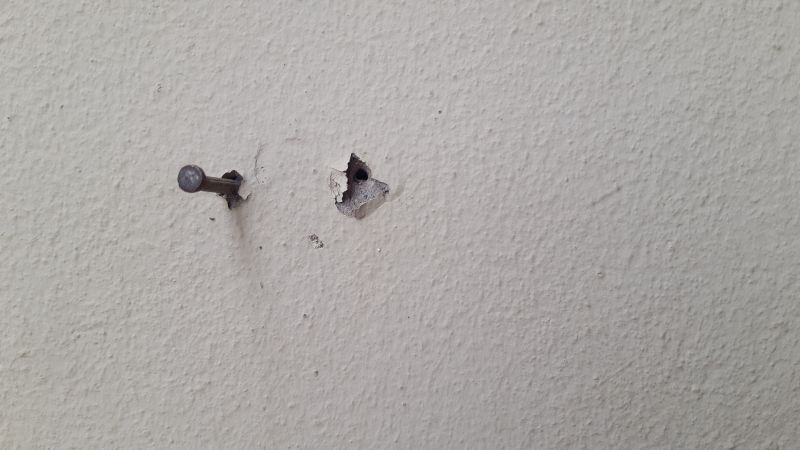
Nail pop repair services are commonly needed when drywall nails or screws loosen over time, causing the ceiling or wall surface to develop unsightly bumps or protrusions. Property owners often seek assistance from local contractors who specialize in drywall repair and home maintenance to address these issues. These professionals typically handle tasks such as removing the affected drywall area, reattaching or replacing loose fasteners, and ensuring a smooth, seamless finish that restores the appearance of the surface.
Local service providers in this field are experienced in assessing the extent of nail pops and performing repairs that blend with existing wall or ceiling surfaces. Whether caused by seasonal temperature changes, settling of the building, or other factors, nail pop repairs are a common part of maintaining the integrity and appearance of interior spaces. Property owners can expect to connect with local pros who provide the necessary skills and materials to complete these repairs efficiently and effectively.
This guide provides helpful information to understand nail pop repair and what to consider when hiring local contractors. It can assist in comparing different service providers and preparing to discuss your project details. By using this resource, you can better navigate options and find the right local experts for your needs.